We’ve raised the bar in large object metrology.
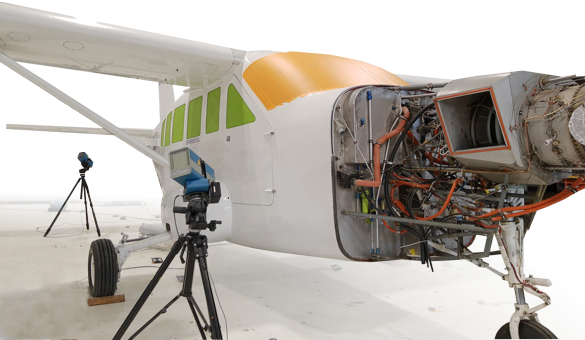
Precision measurement for large object metrology projects have traditionally used laser trackers taking discrete point locations, or 3D scanning portions of the aircraft. We have combined the technologies to enable us to maintain sub-millimeter accuracy from nose to empennage; wing tip to wing tip. We are now able to scan entire aircraft no matter the size while maintaining sub-millimeter accuracy in a fraction of the time.

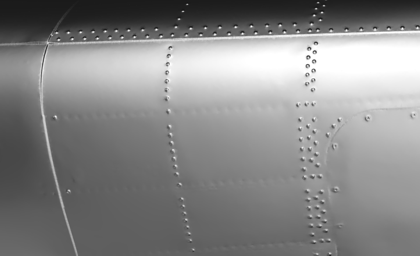
We do this by combing two different 3D scanning technologies. For data capture, we use the Surphaser 100HSX; we treat it as an object scanner collecting just under 300,000 points a second. The Surphaser 3D scanner’s high accuracy and low noise allows us to capture subtle details such as skin deformations, seams and rivets. But to ensure the data is accurate — wing tip to wing tip, and not just locally per scan — we need another system to validate the alignment.

In addition to the aerospace industry, the Surphaser’s high accuracy has changed the game in large object metrology as a whole. It’s now possible to capture production tooling in a fraction of the time, limiting the amount of downtime for your manufacturing process. Our ability to capture high resolution as built models and tools then inspect them back to the original CAD streamlined many of our customers’ manufacturing solutions.
When 3D scanning large objects, it’s critical to verify an accurate global alignment. This is accomplished by utilizing a combination of laser trackers as a secondary measurement system. Allowing us to verify each scan in real time as they load. By collecting data and aligning on site, we’re able to identify any environmental issues affecting the scan. We can correct issues or take additional scans as necessary to ensure the data is superior to our customers’ tolerances.


